How it works
Mappings are many-to-many: one file can attach to many products, and one product to many files. A mapping covers every variant by default. To deliver a different file per variant, use the variant selector in the mapping dialog.
Attach steps
1. Open the Products page
In the Alva admin, click Products in the sidebar. Every Shopify product appears in the list with its current attachment count.
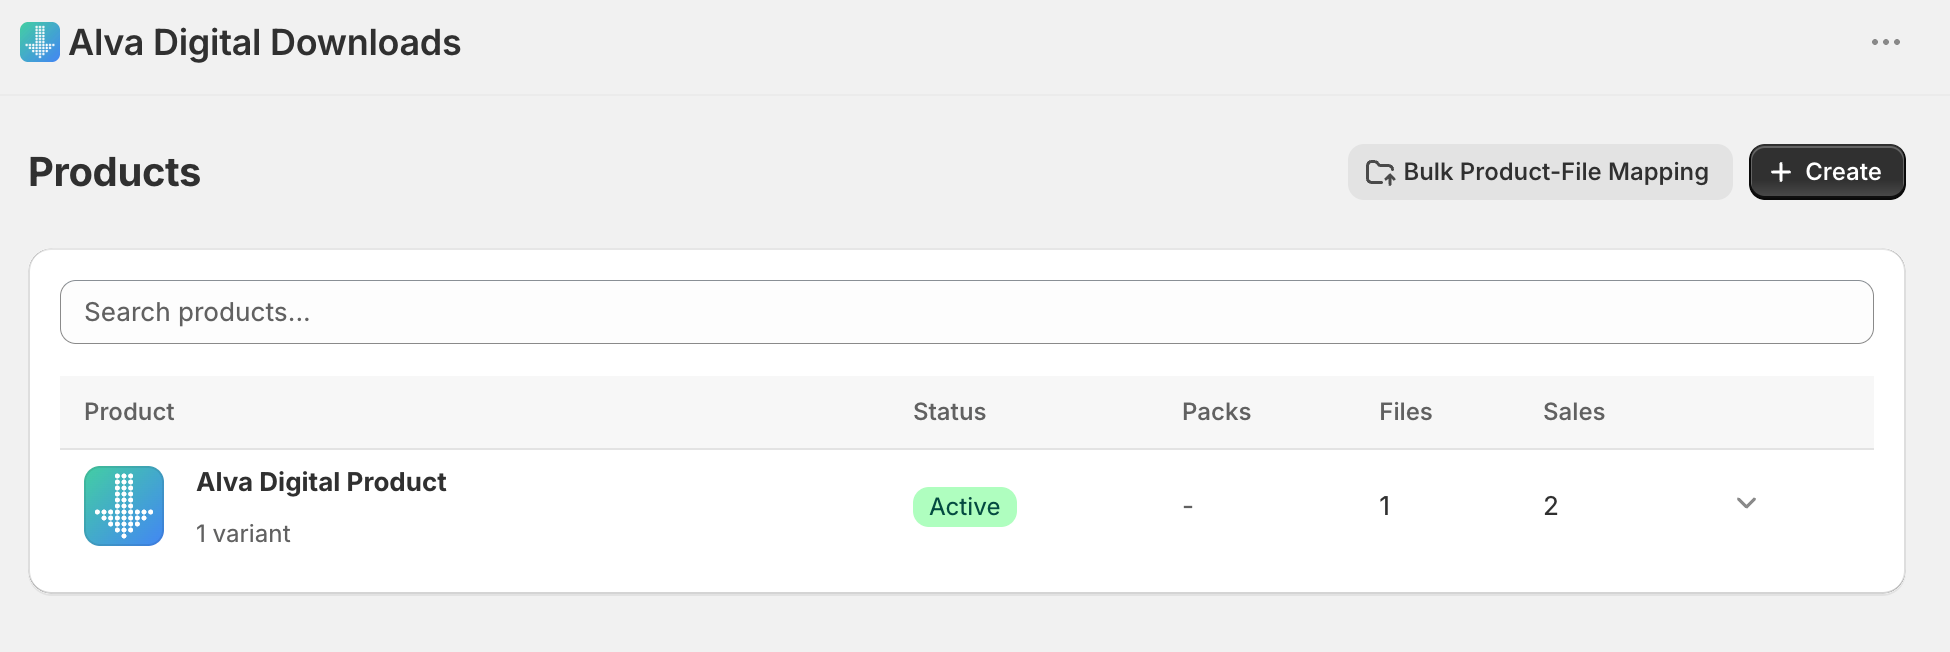
2. Choose a product
Click the row for the product you want to attach a file to. The product detail page opens with three tabs: Files, Packs, and Links.

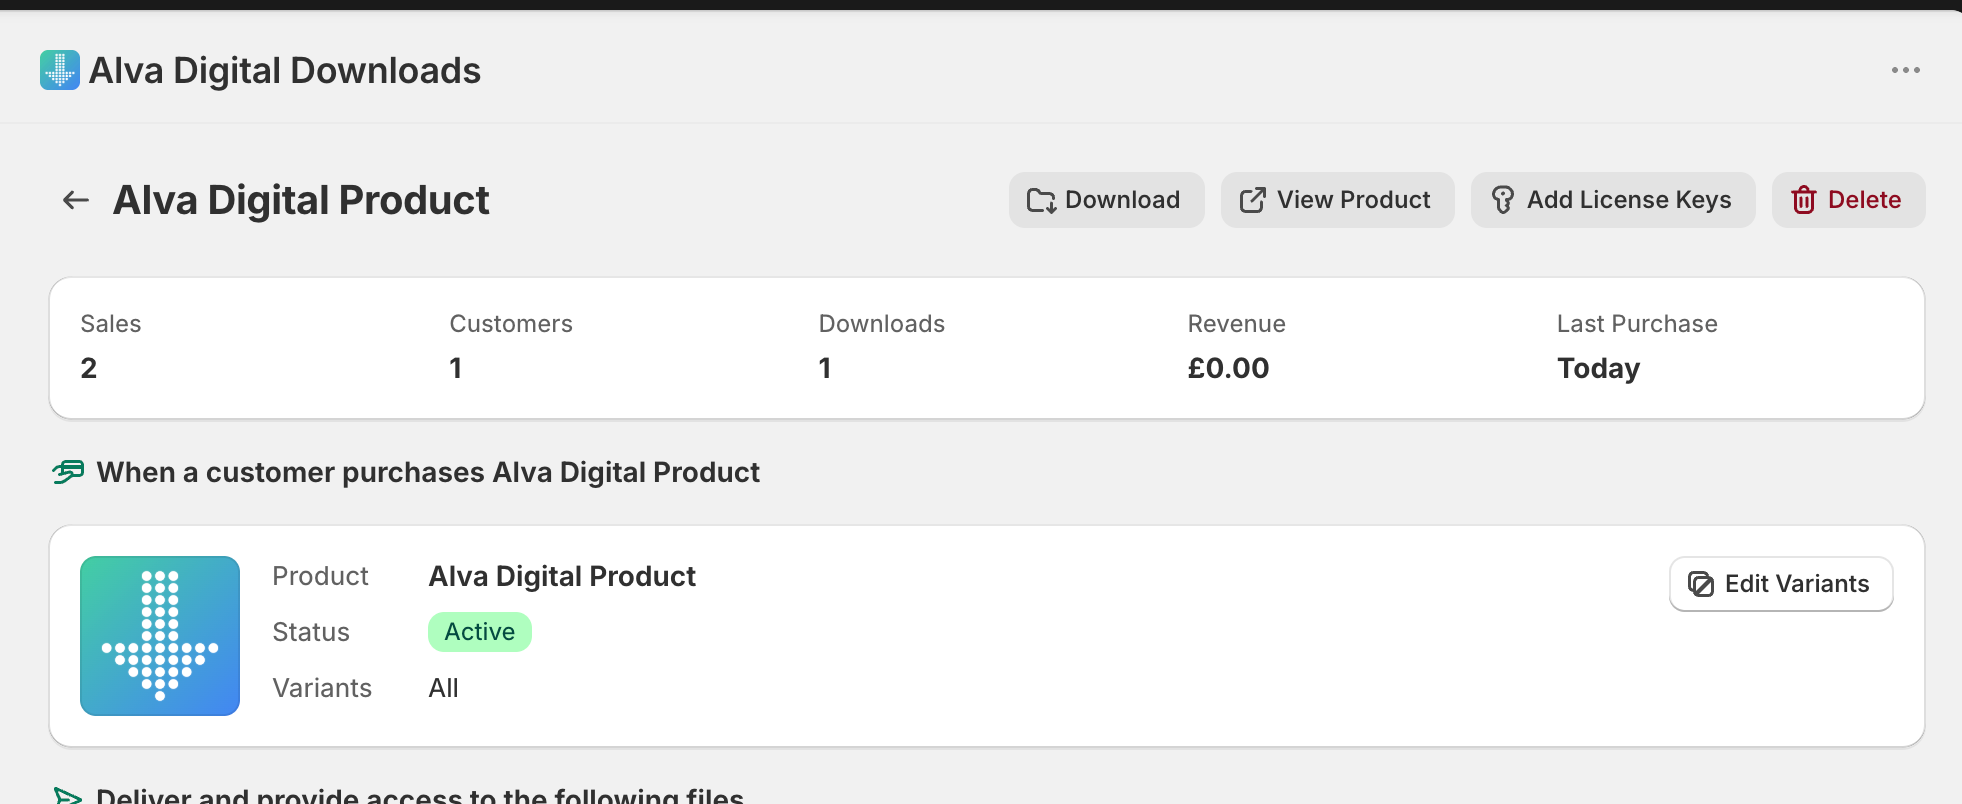
3. Add the file
On the Files tab, click Add file. Tick one or more files from Alva storage, then click Save. The mapping applies to all variants by default.
4. Confirm the attachment
The file shows in the Files tab with a remove button. Every paid order on this product now includes a download link for it.
What customers see
After paying, the customer receives an email with a download link for the attached file. The link also appears on the thank-you page and customer account area when those extensions are enabled.
See also
Was this helpful?
Last updated 2026-05-05